I've been
dreaming of making an electric guitar for quite some time now, sitting in high
school imagining what kind of body shape I would make, what kind of inlays I
would use, or what odd assortment of electronics I would put in it. For a while
now that thought has been just that: a dream. But just last week I began
construction on my first self-designed electric guitar.
Last fall we
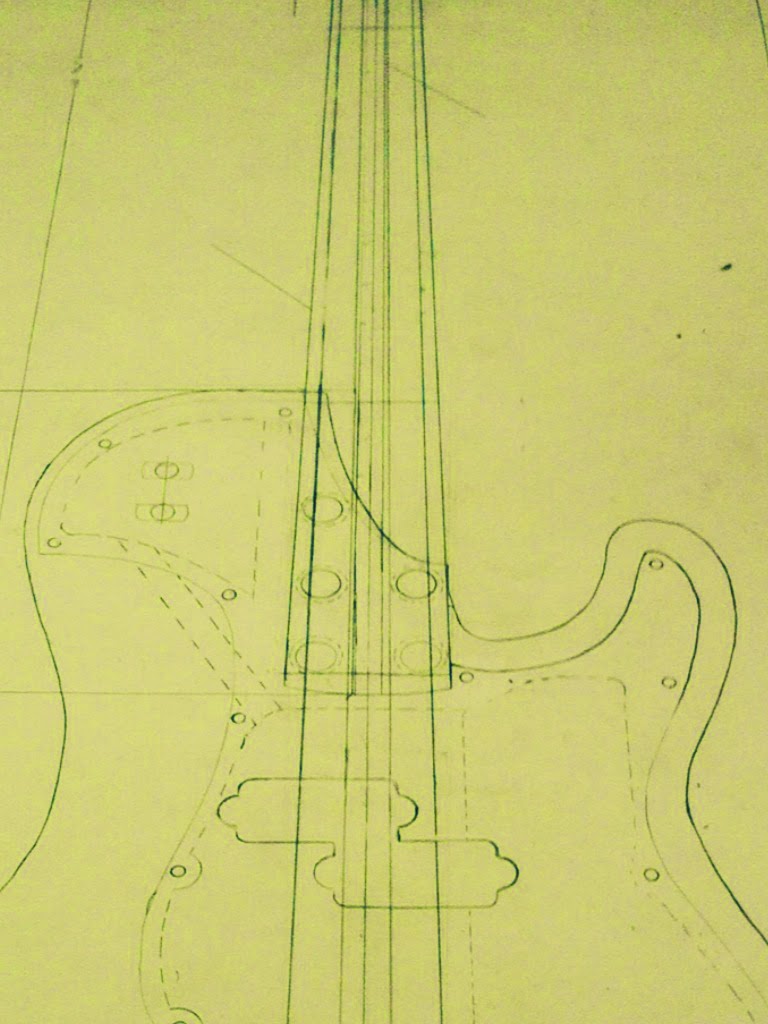
designed our guitar in an electric guitar design class. I decided that I wanted
to build a bass (that being my instrument of choice). The bass I designed was a
sort of adaptation of a fender P-bass. The main change was that I wanted to
have a single cut away to create more space for electronics. Because of this
decision I had to replace the traditional neck plate with 5 ferules. Other than
the neck body joint and the single cut away the body and neck shape will remain
similar to a traditional fender p bass.
Step number
one for electric guitar construction was to make templates from the plans we
had drawn up. Because I decided to use a more complicated design I had to make
a few extra templates. The first template I made was for the body shape. The
second template I made was for routing the control cavity. The last template I
made was for my custom pick guard. All of these templates would be used to
flush trim and/or plunge route the various parts of the guitar.
After rough
cutting the templates I had to spend quite a bit of time sanding edges to get
rid of any ridges or dips that would prevent the router from making a clean
cut.
After that I joined the mahogany and used three bar clamps to clamp up the two halves of the body and cleaned up all glue squeeze out.
The next
step is to rough cut the body and drop cap. I chose to build the body with ribbon African mahogany and the drop cap to be flamed cherry.
After that I
screwed my template to the mahogany and routed the final shape of my guitar
body.
Hope you
enjoyed the blog, tune in next week for another addition to this exciting
build!
-John Potts


