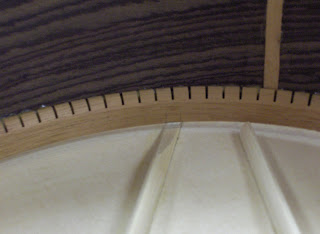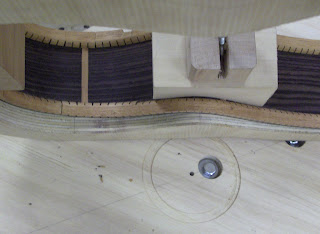
I notched the sides so that the top would fit on flush.


Next I marked where the top would be cut to.

Then I sanded it down to about 1/8" over-sized so that the over hang would not crack the top when I clamped it up with bungee cord.

I slid the top out of the mold at an even amount.. Since the back changes in depth I had to support it through the clamping.

So I made some blocks to fill the gap.


Next I put sheet rock screws in the holes that I drilled during that first week.

Next I glued the top to the side kerfing and clamped the neck and tail block areas. Then I wrapped a 40' bungee cord around the body using the sheet rock screws to even the out the pressure.

After it is clamped for 2 hours I took off the bungee and it's really starting to look like a guitar.


I still have some of the top hanging over.

David shows us how to trim it flush with the router.

Nicely done.

