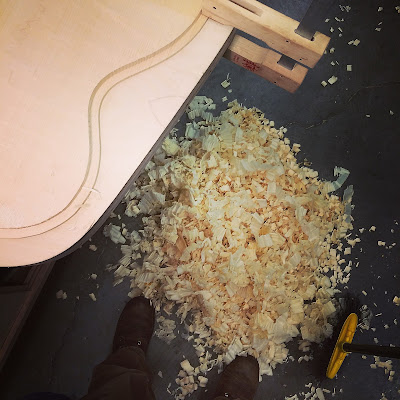
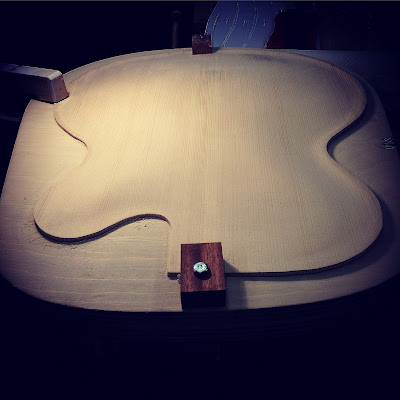
I started my archtop build by joining two wedge shaped pieces of European spruce together, traced the guitar outline onto the wood and cut out the rough shape. I used a router to cut into the edge of the top to establish the desired thickness, this gives me a reference while carving the rest of the material away. After many hours of careful carving, measuring and scraping the archtop begins to take shape.
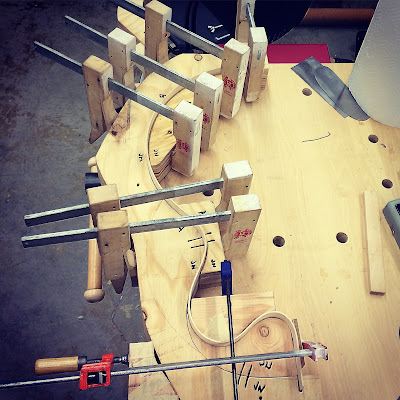
I used a bending mold with a heating blanket to bend my first maple rib. This guitar is going to have a cutaway on the treble side, so a different mold was needed for the second rib. This was my first time bending for a cutaway and I was a little nervous about cracking the maple. I used heat for an extended period of time while bending through the tightest curves, in the end the process was a success. I glued the neck and tail blocks in place joining the two sides together, glued the kerfing in place and the rib structure was complete.
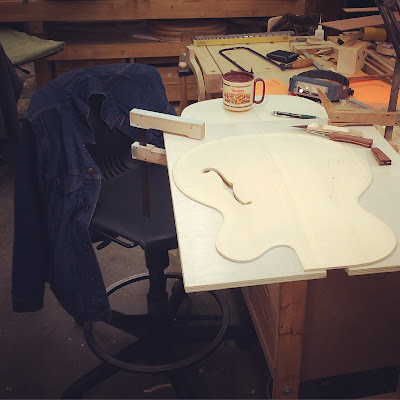
After carving the outside of the top, I flipped it over and started the process of carving the graduation into the inside. I drilled a series of holes to a depth slightly over my desired finished thickness. I used my gouge to carve away the bulk of material, switching to my planes when I started to approach the bottom of the drill marks. Next, I laid out my f-holes and carved them using a coping saw, knifes and files.
Once finishing the f-holes, I finalized the graduating to the inside of the top. I laid out three areas of varying thickness and drilled more holes to these depths. I continued to carve until I reached the bottom of the holes and took my time to scrape and sand the inside to a consistent smooth surface. I cut two tone bar braces from Adirondack spruce stock and carved them to fit snugly to the inside arching. I used feeler gauges and chalk fitting technique to get a perfect fit before gluing the braces into place. Once both braces were attached it was time to glue the top to the sides. I did this process by lacing a long bungee rope over the body for clamping pressure.
With the top glued to the sides the next step was to plan and calculate the routing channel for the binding and purfling. I am using an ivoroid binding with wooden black/white purfling, this requires two separate routing channels. I first cut for my purfling using a routing tower, immediately followed by the binding channel. Before gluing the binding into place I routed my pocket for the dovetail neck joint using a routing jig.
I glued the purfling in place first using wood glue, I used masking tape to keep clamping pressure on it while drying. Next, I used a hot plate to heat the ivoroid binding causing it to become malleable. I bent it to fit the shape of the tight curves through the cutaway portion of the guitar. Once bent to shape I glued it in place using acetone and cyanoacrylate glue. I repeated the process of using masking tape to keep it in place while the glue set. I am very happy with the way the binding job is looking so far, the next step will be to scrape the binding and purfling flush and clean up the glue residue.
Im looking forward to getting back to this build after the holiday break!
- Justin Ness


